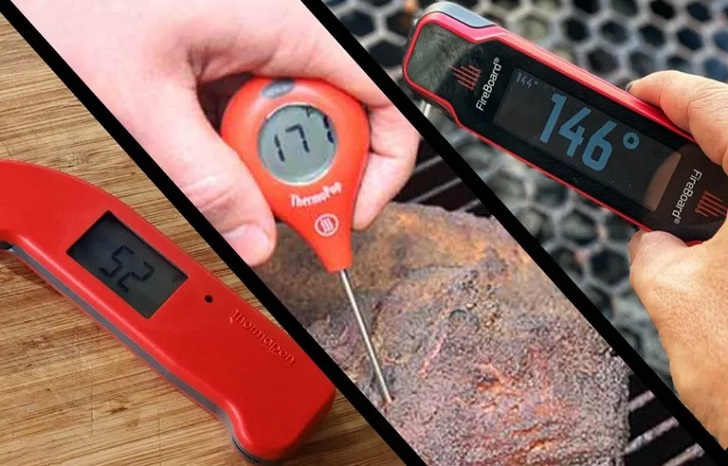
Using a meat thermometer is essential when it comes to cooking meat. It helps ensure that your food is cooked to the right temperature, guaranteeing it is safe to eat and flavorful and juicy. However, using a meat thermometer can be intimidating for some, especially those new to cooking.
By following these steps, you can confidently use a meat thermometer and ensure that your meat is cooked safely and perfectly every time.

Joe Clements/ Flickr | The traditional “meat” thermometer designed to be placed in a food
Step 1: Know the safe temperatures for different types of meat
The first step to using a meat thermometer is to know the safe temperatures for different types of meat. The USDA has established recommended cooking temperatures for various types of meat. For example, the safe minimum temperature for beef, pork, and lamb is 145°F, while poultry should be cooked to an internal temperature of at least 165°F. Knowing these safe temperatures will help ensure that your meat is cooked to perfection and safe to eat.
Step 2: Insert the thermometer correctly
The second step is to insert the thermometer correctly. For instant-read thermometers, insert the probe into the thickest part of the meat, ensuring it is not touching any bones, as this can affect the reading. For leave-in thermometers, insert the probe into the meat's center, ensuring it is not touching any bones or the cooking vessel.
Step 3: Wait for the reading
The third step is to wait for the reading. With instant-read thermometers, the reading should be ready within a few seconds. With leave-in thermometers, it may take a few minutes for the reading to stabilize. For oven-safe thermometers, check the temperature periodically throughout the cooking process.
Step 4: Clean the thermometer

Joseph Willoughby/ Getty Images | Using a food thermometer is the only reliable way to ensure safety and to determine desired "doneness" of meat
The final step is to clean the thermometer. After each use, wash the probe with hot, soapy water and dry it thoroughly. Some thermometers are dishwasher safe, but check the manufacturer's instructions before putting it in the dishwasher.
Step 5: Check multiple areas of the meat
For larger cuts of meat, it's a good idea to check the temperature in multiple areas to ensure the entire cut is cooked evenly. Insert the thermometer into different meat parts to get an accurate reading.
Step 6: Don't rely solely on cooking time
Cooking time is important, but it can be misleading. Just because a piece of meat has been cooking for the recommended time doesn't mean it has reached a safe internal temperature. Always use a meat thermometer to check the temperature before serving.
Step 7: Calibrate your thermometer

Belchonock/ Getty Images | Standard meat thermometers are metal and designed to withstand the oven temperature
To ensure that your thermometer is giving you an accurate reading, it's a good idea to calibrate it regularly. There are different ways to calibrate a thermometer, but one of the easiest is ice water. Fill a glass with ice and water, insert the thermometer probe into the mixture, and wait for the reading to stabilize. The thermometer should read 32°F (0°C). If it doesn't, adjust the thermometer accordingly.
Step 8: Use the thermometer for other foods
A meat thermometer can also be used for other types of food, such as casseroles, baked goods, and even candy. Knowing the internal temperature of these foods can help ensure that they are cooked properly.
Step 9: Store the thermometer properly
When not in use, store the thermometer in a safe place to avoid getting damaged or exposed to extreme temperatures. Some thermometers come with protective cases, which can help prolong their lifespan.


